kitchen renovation · 9 min read
Floors First or Cabinets First? How to Sequence a Kitchen or Laundry Renovation
By Dean Marchetti · Published 2 November 2026
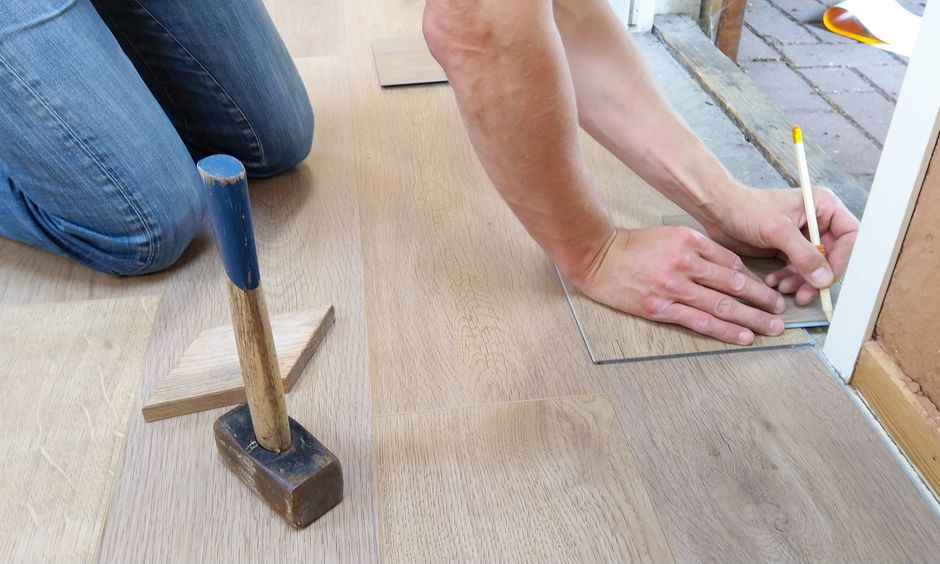
Renovating a kitchen or laundry involves far more moving parts than most homeowners expect, and few decisions have a bigger downstream impact than the order in which your trades arrive on site. This article unpacks the sequencing question that trips up even experienced renovators: floors first, or cabinets first?
Why Sequencing Matters: The Case for Planning Cabinet Installation Early
Cabinet installation sits at the very heart of any kitchen or laundry renovation timeline. Get the order wrong and you can end up with flooring that can't expand, kickboards that don't sit flush, or worse, a warranty-voiding call-out before a single pot has been cooked. The trades involved (flooring installer, cabinet maker, plumber, electrician) each have a preferred sequence, and those preferences don't always align without a coordinating plan drawn up well in advance.
A kitchen cabinet is a fixed, load-bearing element of the room. Its base sits on, or in some cases is fastened through, the floor. That single fact ripples through every flooring decision you make: what material you choose, how thick it is, whether it needs an expansion gap at the toe kick, and how the finished floor height aligns with appliances and doorways.
Planning cabinet installation early gives you:
- Accurate floor-height calculations before any material is ordered
- Clarity on which zones need flooring underneath cabinetry and which don't
- A realistic schedule that prevents trades waiting idle on site
- Fewer remediation costs caused by material conflicts discovered after installation
Whether you're laying epoxy, timber, vinyl plank or tile, the sequencing logic changes depending on the flooring type, and that's exactly what the rest of this guide breaks down, trade by trade and material by material.
Floors First or Cabinets First? Understanding Your Options by Cabinet Installation Type
One of the most debated sequencing questions in any kitchen or laundry renovation comes down to cabinet installation timing, and the honest answer is that it depends almost entirely on which flooring material you've chosen. There's no universal rule, but understanding how each flooring type behaves under load and around edges makes the decision much clearer.
Here's a practical breakdown by flooring category:
- Epoxy and polyaspartic coatings: These go down before cabinets, full stop. Because epoxy is applied as a liquid and bonds directly to the concrete substrate, it needs to coat the entire slab, including the area beneath where cabinets will sit. Trying to coat around base units creates ugly hard edges, adhesion problems and voids that trap moisture. Once the epoxy has cured (typically 24–72 hours depending on the system), cabinet installation can proceed directly on top of the hardened surface.
- Floating timber and laminate floors: These generally go in after cabinets because they need room to expand and contract. Running a floating floor under a fixed cabinet eliminates the expansion gap on that side, which can cause buckling over time.
- Ceramic and porcelain tiles: Can go either way, though many tilers prefer to lay after cabinets are set, tiling up to the kickboard line to reduce material waste and cutting complexity.
- Vinyl planks (LVP/SPC): Similar to laminate, most manufacturers recommend installing cabinets first, then floating the vinyl around the perimeter, preserving the required expansion gap at all edges.
- Sheet vinyl and linoleum: Typically installed before cabinets, as the continuous sheet performs best when it runs underneath the base units uninterrupted.
Knowing your flooring type before you book your cabinet installation, or your flooring contractor, is the single most effective way to avoid costly rework mid-project.
Expansion Gaps, Kickboards and Floating Floors: What Every Homeowner Must Know Before Cabinet Installation
Cabinet installation decisions don't happen in isolation, the type of flooring you choose directly dictates how cabinets must be positioned, supported and finished at the base. Nowhere is this more critical than with floating floors, where getting the sequence wrong can cause buckling, squeaking or voided warranties within the first year.
Why Floating Floors and Cabinets Are a Tricky Combination
Floating floors (including laminate, hybrid and engineered timber) are designed to move as a single connected sheet across the subfloor. They expand and contract with temperature and humidity changes. If cabinets are installed on top of a floating floor, the weight pins the floor down and restricts that natural movement. Over time, this causes the floor to buckle, bow or develop gaps in unexpected places. Most floating floor manufacturers explicitly void their warranty if cabinetry is placed on top.
The correct approach is to install base cabinets on the subfloor first, then float the flooring up to the cabinet toe kicks, leaving the required expansion gap (typically 10–12 mm) at that junction. The kickboard then conceals everything neatly.
The Role of Kickboards in Hiding the Gap
Kickboards (also called toe kicks or plinths) serve a practical purpose beyond aesthetics. They hide:
- The expansion gap between the floating floor and the cabinet base
- The subfloor step where the floor finish meets the raw concrete or particleboard beneath the cabinet
- Pipework or electrical conduits running along the base of cabinetry
Kickboards are generally fitted after both the cabinets and flooring are installed, making them the final peace-keeper between two trades that need to work in close sequence. Discuss kickboard reveal heights with your cabinet maker early: this small detail affects how the finished floor line reads across the entire room.
Step-by-Step Cabinet Installation Over and Around Different Floor Surfaces
Getting cabinet installation right depends heavily on what's underfoot, and the sequence changes meaningfully depending on whether you're working over tile, hardwood, vinyl plank, or a sealed concrete or epoxy surface. Here's how to approach each scenario methodically.
Concrete and Epoxy-Coated Floors
If your laundry or kitchen sits on a diamond-ground and coated concrete slab, you have the most straightforward path. Epoxy and polyaspartic coatings can be installed right up to the wall line before cabinets arrive, because there's no expansion movement to account for. Base cabinets sit directly and firmly on the cured surface. Shim as needed for level, then fix cabinets to wall studs. The kickboard (toe-kick) is added last, trimmed flush to the floor, no gaps, no flex, no drama.
Tile Floors
Tile is dimensionally stable, so cabinets can sit on top without issue. The key step is checking that the tile is fully cured and grouted before cabinet installation begins. Place a spirit level across several tiles to identify any lippage or high grout lines that might cause a cabinet to rock. Shim under the cabinet base at these points before securing to the wall.
Floating Floors (Vinyl Plank and Laminate)
This is where sequencing matters most. Floating floors must not be pinned under cabinet bases, doing so prevents the floor from expanding and contracting, which leads to buckling. Install cabinets first on the subfloor, then float the flooring up to (but not beneath) the cabinet footprint. Leave the manufacturer's recommended expansion gap at the cabinet toe-kick line, then cover it with the kickboard moulding.
Hardwood Timber
Like floating floors, solid timber needs breathing room. Run flooring to the cabinet perimeter, leave a 10–12 mm expansion gap, and cover with the toe-kick. Nail-down hardwood can tolerate cabinets installed first or after, just confirm the subfloor height differential before your cabinet maker finalises bench heights.
- Always check for level across the full cabinet run before fixing anything permanently
- Shim at low points: never pack the high side
- Scribe filler strips where cabinets meet irregular walls or floors
- Fit kickboards last: regardless of floor type: they're your finishing cover for any gaps
Coordinating Your Flooring Installer and Cabinet Maker: A Practical Cabinet Installation Timeline
Getting the sequence right between your flooring installer and cabinet maker isn't just good planning: it's the difference between a renovation that runs smoothly and one that results in costly rework. Whether you're installing epoxy in a laundry or laying engineered timber in a kitchen, clear communication between trades is everything when it comes to cabinet installation timing.
Here's a practical timeline that works for most Sydney kitchen and laundry renovations:
- Week 1–2, Substrate preparation: Concrete grinding, levelling compounds, and any subfloor repairs happen first, before any cabinets or flooring goes down. For epoxy or polyaspartic systems, diamond grinding is non-negotiable at this stage.
- Week 2–3, Cabinet delivery and rough-in: Base cabinets are installed on the prepared (but not yet finished) substrate. If you're running flooring under cabinets, the flooring installer lays the full field now, before units are fixed in place.
- Week 3–4, Flooring completion: Final coats, sealing, or floating floor installation happens around cabinets already in position, with expansion gaps maintained at every fixed edge.
- Week 4–5, Kickboards and finishing: Kickboards are cut and fitted last, concealing any gap between the cabinet base and floor surface without trapping the floor.
The key is booking both trades in sequence, not simultaneously. Confirm lead times early, cabinet makers in Sydney often have 6–10 week lead times, while a quality epoxy crew like Ironclad Floors can typically schedule around your cabinet delivery once they know the dates.
If you're budgeting the full scope, it's worth reviewing a detailed breakdown of what Sydney homeowners should expect to pay for cabinetry fitting so there are no surprises when coordinating both trades.
Pro tip: Share your cabinet maker's installation date with your flooring contractor at the time of booking, not the week before.
Cabinet Installation Costs, Common Mistakes and the Trade-Offs Worth Knowing
At the end of any cabinet installation project, the decision that haunts most Sydney homeowners isn't the tile they chose or the handle finish: it's the sequencing call they got wrong before a single screw was driven. Getting the order right between your flooring installer and your cabinet maker isn't just about aesthetics; it directly affects your budget, your timeline and whether costly rectification work lands on your plate later.
Where the Money Goes Wrong
The most expensive mistake in a kitchen or laundry renovation is running a floating floor under cabinets without understanding expansion dynamics, then calling a tradesperson back to lift joinery and re-lay boards that have buckled. Second-most expensive? Tiling the entire floor before cabinet installation, only to discover the base units sit fractionally high once the adhesive bed is accounted for, throwing out your benchtop height and appliance clearances.
Common trade-offs to weigh before you commit:
- Full-floor tiles first: Cleaner finish if cabinetry ever changes, but higher upfront material cost and risk of height misalignment.
- Cabinets first, tile to edge: Better dimensional control, lower tile waste, but limits future flexibility.
- Floating floors under cabinets: Almost always a structural mistake; the floor cannot move freely and delamination follows.
- Epoxy or polyaspartic coatings: Applied after cabinets are boxed in, these coatings cure hard against kickboards without expansion concerns, a genuine advantage for laundries and utility spaces where a seamless, moisture-resistant surface matters most.
Coordination between trades saves more money than any negotiated discount on materials. Lock in your sequencing conversation before either tradesperson books their start date.
Whether you're working through a full kitchen renovation or a laundry refresh, the underlying principle is consistent: structure and sequence first, finishes second. Understand how your flooring type behaves, plan your cabinet installation around those constraints, brief your trades clearly on the order of work, and the result will be a space that looks deliberate, because it was.

Dean Marchetti
Founder & Managing Director at Ironclad Floor Solutions. About the author